 how-to
How to Restore Stained Car Seats
Last Updated: October 25, 2026
Quick Summary
To restore stained car seats, first identify the material and vacuum loose dirt, then treat stains with a pH-balanced upholstery shampoo using a barely damp microfibre cloth and blot rather than scrub. Match the method to the stain type, keep fabric evenly damp to prevent water rings, and dry the seat thoroughly so stains and odours do not return.
- Identify fabric, leather, vinyl or mixed materials before spraying anything, since each responds differently to cleaners.
- Vacuum crumbs, sand and pet hair from seams first, because loose dirt turns to mud and pushes stains deeper.
- Mix one teaspoon of pH-balanced upholstery shampoo in 500 ml of warm water for food and drink stains.
- For grease, sprinkle cornflour or baking soda and leave at least two hours before vacuuming.
- Patch test on a hidden area and check for colour lift after 10 to 15 minutes before committing.
Table of Contents
- Assess the Seat Material and Vacuum Loose Dirt First
- How to Clean Fabric Car Seats Without Oversaturating
- Choosing the Best Cleaner for Fabric Car Seats
- How to Get Old Stains Out of Car Seats: Stain-by-Stain Fixes
- Cleaning Leather, Vinyl and Mixed-Material Seats Safely
- How to Dry Car Seats After Cleaning and Stop Stains Returning
- When to Book a Professional Interior Detail
- Frequently Asked Questions
Assess the Seat Material and Vacuum Loose Dirt First
Restoring stained car seats starts with knowing what you are cleaning. Fabric, leather, vinyl and mixed materials each respond differently to water, cleaners and brushes. So before you spray anything, identify the material and pull out the loose dirt. That single step decides whether the job takes twenty minutes or turns into a costly repair.
Identify Fabric, Leather, Vinyl or Mixed Materials
Check the seat label or owner's manual first. Most vehicles list the upholstery type there. If you cannot find it, use the touch test:
- Fabric or cloth seats: soft, woven texture that absorbs a drop of water.
- Leather seats: smooth, slightly cool surface with visible grain or pores.
- Vinyl seats: smooth and uniform, often with a synthetic sheen.
This matters because fabric takes water-based cleaners, while leather and vinyl need pH-balanced products. Using the wrong one can fade colour or crack the surface.
Vacuum and Lift Surface Debris Before Any Liquid
Loose dirt turns into mud the moment it meets water. That mud pushes deeper into the fibres and makes stains harder to lift.
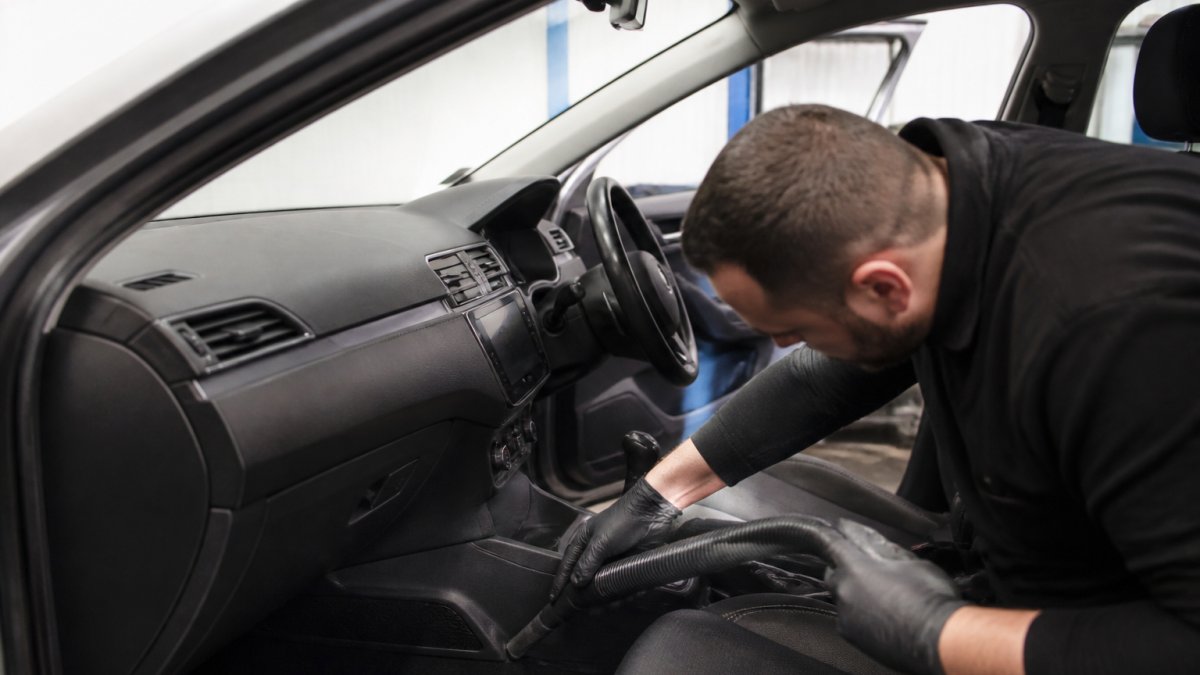
Work through the cabin with a vacuum and a crevice tool:
- Lift floor mats and vacuum underneath.
- Run the brush attachment over the seat base and backrest.
- Get into the gap where the seat meets the console.
A common mistake is skipping this step on a rushed job. In practice, five minutes of vacuuming saves far more time later.
How to Clean Fabric Car Seats Without Oversaturating
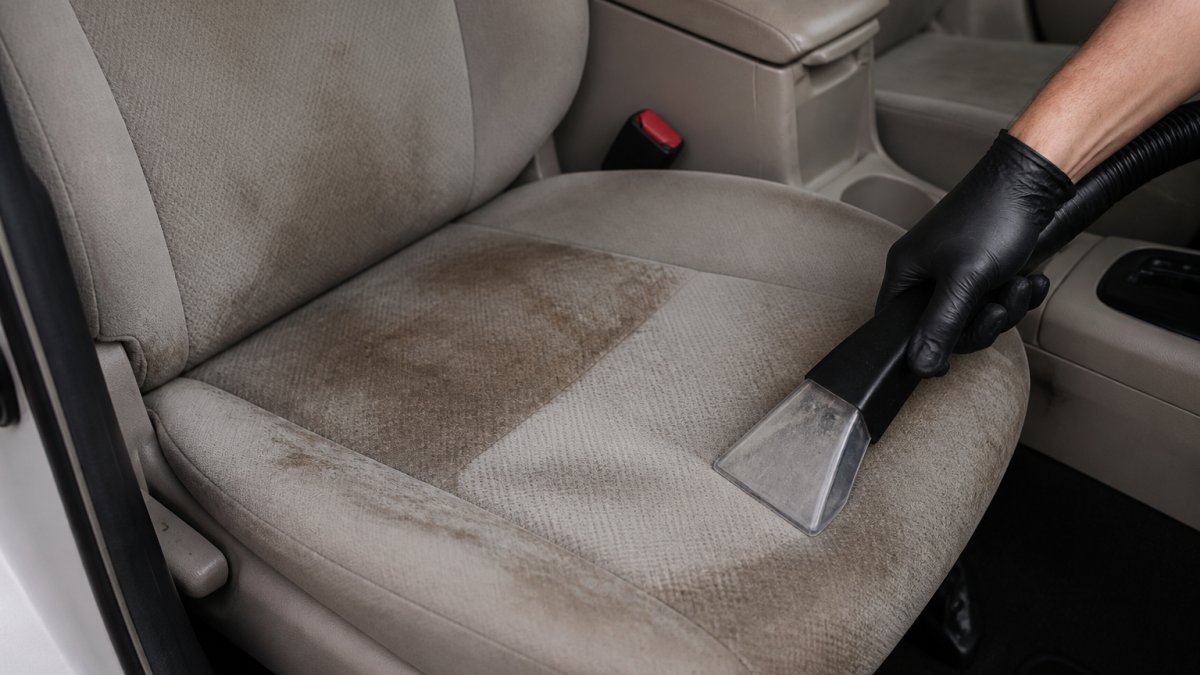
The best way to clean fabric car seats is to use less liquid than you think you need. Oversaturation is the number one cause of water rings, wicking and mildew in cloth upholstery. Water carries the stain deeper into the foam, and it can take days to dry.
Follow this process:
- Mix a small amount of upholstery shampoo or a pH-balanced cleaner with warm water.
- Dip a microfibre cloth or wash mitt and wring it out until it is barely damp.
- Work in small sections, pressing the cloth into the fabric.
- Blot, do not scrub hard. Aggressive scrubbing pushes dirt deeper.
- Rinse with a clean, damp cloth to lift residue.
- Press a dry towel into the seat to pull out moisture.
Keep the whole seat surface evenly damp rather than soaking one spot. That evenness is what prevents water rings.
Choosing the Best Cleaner for Fabric Car Seats
The best cleaner for fabric car seats is a pH-balanced upholstery shampoo made for vehicle interiors.
Here is how the common options compare:
| Cleaner | Best For | Watch Out For |
|---|---|---|
| Upholstery shampoo | General deep cleaning | Needs full rinse to avoid residue |
| pH-balanced interior cleaner | Routine cleaning, mixed materials | Less lifting power on old stains |
| Dish soap and warm water | Light surface dirt | Too much soap leaves sticky film |
| White vinegar and water | Odours and mild stains | Strong smell, patch test first |
| Steam cleaning | Stubborn set-in stains | Can oversaturate if rushed |
A DIY cleaner of vinegar and warm water works well for mild odours. Dish soap is fine for a quick spot treatment, but use a tiny amount.
Always patch test on a hidden area first. Watch for colour lift or texture change before you commit.
How to Get Old Stains Out of Car Seats: Stain-by-Stain Fixes
Old stains need a targeted approach, not a stronger version of the same scrub. The mechanism matters: most stains bond to fibres as they dry, so the goal is to rehydrate and lift rather than to scrub harder.
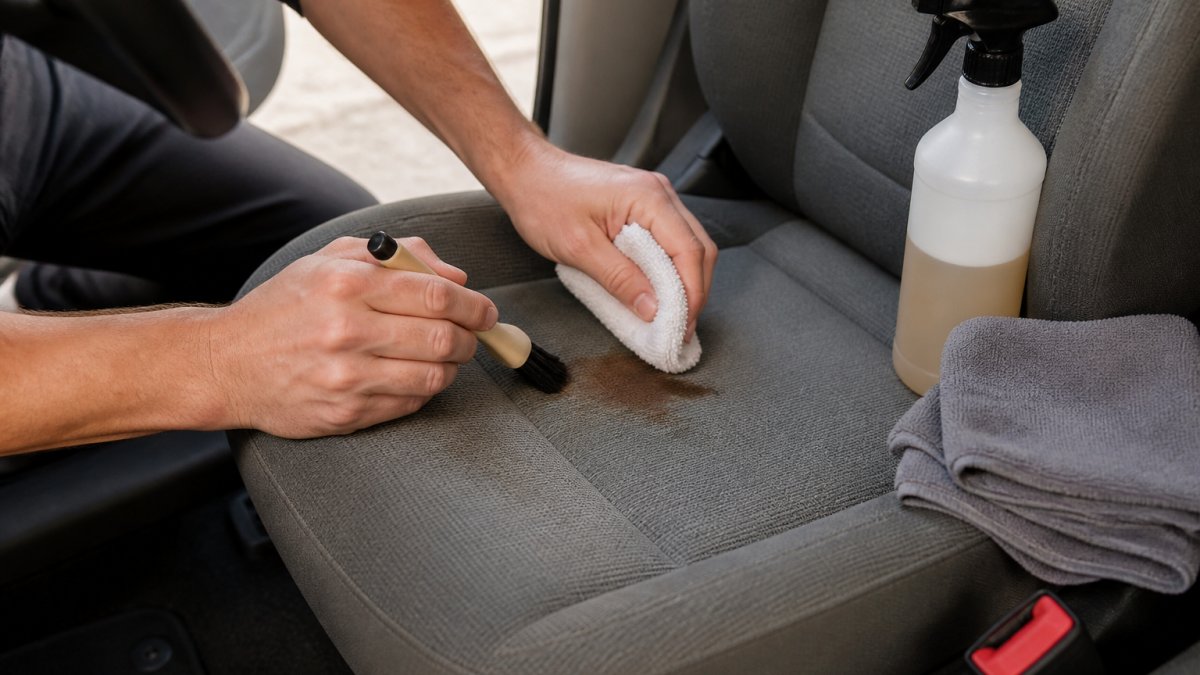
Here is how to match the method to the stain:
- Food and drinks (coffee, tea, soft drink, juice): blot up excess while still wet. Mix one teaspoon of pH-balanced upholstery shampoo in 500 ml of warm water. Apply with a barely damp microfibre cloth, dwell for two to three minutes, then blot. For coffee and tea, follow with a dilute white vinegar solution (one part vinegar to three parts water) to neutralise tannins, then rinse with a clean damp cloth. Sugar-based drinks leave a sticky film that attracts dirt, so a second rinse pass matters more than a second scrub.
- Grease and oil: do not add water first. Sprinkle cornflour or baking soda over the mark, press gently, and leave for at least two hours (overnight is better) to draw out the oil. Vacuum, then clean with a degreasing upholstery cleaner. Water alone spreads grease and drives it deeper into the foam.
- Ink: dab, never rub, with a cloth dampened with isopropyl alcohol (rubbing alcohol). Test on a hidden seam first because alcohol can lift dye from some fabrics. Blot repeatedly with a clean section of cloth and stop as soon as the transfer slows; over-wetting can spread ink into a wider halo.
For stubborn or set-in stains, a soft detail brush helps lift dirt from the weave. Use light circular motions and stop before the fabric looks soaked.
If a stain keeps returning after drying, the cause is usually residue or wicking from the foam beneath. In that case, a second controlled wet-and-extract pass, followed by thorough drying, is more effective than another round of spot scrubbing.
Cleaning Leather, Vinyl and Mixed-Material Seats Safely
Leather and vinyl need a gentler routine than fabric. Skip the stiff brushes and heavy soaps. The surface is a finish, not a fibre, so the aim is to lift contamination without stripping the coating that keeps it supple and colour-fast.
Patch test before you commit
Before any product touches a visible panel, patch test on an inconspicuous area, such as the underside of the seat base or a hidden seam. Apply a small amount of the cleaner with a cotton bud, wait 10 to 15 minutes, and check for colour lift, tackiness or a change in sheen. If the surface dulls or the cloth picks up dye, stop and choose a milder product.
Leather and vinyl routine
- Vacuum seams and crevices first with a soft brush attachment.
- Wipe with a pH-balanced leather cleaner on a soft microfibre cloth, working in small sections.
- Buff dry immediately with a separate clean cloth. Do not let cleaner pool in seams or perforations.
- Condition leather afterwards with a leather conditioner to keep it supple; vinyl does not need conditioning and can become tacky if conditioned.
Watch out for household all-purpose sprays, harsh detergents and alcohol-based cleaners on coated leather. They strip the protective finish, which leads to cracking, fading and a dull sheen that no cleaner can reverse. Avoid abrasive pads and stiff brushes on both leather and vinyl.
Mixed-material seats
On mixed-material seats, treat each surface separately. Clean the fabric inserts first, then the leather or vinyl bolsters. Keep water off the leather seams where it can seep in, and use a separate cloth for each material so you do not transfer cleaner from one surface to the other. If the fabric insert is heavily soiled, clean it with the barely-damp method and dry it before moving to the bolsters.
For seats with unknown or aftermarket covers, check the manufacturer's care label before cleaning. When in doubt, a professional interior detail is the safer route for leather and mixed materials.
How to Dry Car Seats After Cleaning and Stop Stains Returning
Knowing how to dry car seats after cleaning is as important as the cleaning itself. Damp seats grow mildew and bring back odours within days.
- Press dry towels into the seat to pull out moisture.
- Open windows or run the air conditioning on fresh air.
- Park in shade with doors open on a dry day.
- Avoid sealing the car up while seats are still damp.
To stop stains returning, keep up routine cleaning. Wipe spills straight away and vacuum weekly. For ongoing habits and deep-clean advice, see our guide on interior detailing: keeping your cabin fresh through summer.
When to Book a Professional Interior Detail
Some jobs are better handed to a pro. Book a professional interior detail when:
-
Stains have set in for months and resist spot treatment.
-
Seats are soaked through and at risk of mildew.
-
You have leather or mixed materials you do not want to risk.
-
You want an extractor or steam clean done properly. Before booking, you can read the interior car detailing warranty explained to see what's covered and what's excluded.
When you are ready, you can book car detailing online and pick a slot that suits you, with no phone call needed.
Frequently Asked Questions
How do I get stains out of fabric car seats?
Start by vacuuming loose dirt, then identify the fabric type before applying anything. Mix a small amount of pH-balanced upholstery shampoo or a mild dish soap solution with warm water, apply sparingly, and agitate with a soft brush. Blot with a clean microfibre cloth rather than scrubbing hard, then rinse by blotting with a damp cloth. Avoid oversaturation, which causes wicking and water rings. For stubborn or old stains, repeat in short sessions and let the seat air-dry fully between attempts.
Are some car seat stains permanent?
Some stains are very difficult to remove, particularly ink, dye transfer, old grease and sun-baked food spills. Fabric seats respond better than leather to repeated spot treatment, but a stain that has set for months may leave a faint mark even after careful cleaning. Leather and vinyl can stain permanently if aggressive cleaners strip the finish. Patch test first and work gently. If a stain will not lift after two or three attempts, a professional interior detail is the safer next step.
Can you use household cleaners on car seats?
Some household items work well in small amounts, including diluted dish soap, white vinegar and warm water. Avoid bleach, ammonia-heavy glass cleaners, abrasive scourers and anything with a strong solvent on leather or vinyl, as these can strip finishes and cause cracking. Always patch test on a hidden area first. For fabric seats, a pH-balanced upholstery shampoo is the safest choice because it rinses cleanly and leaves less residue that attracts new dirt.
How long do car seats take to dry after cleaning?
Fabric seats typically take 4 to 12 hours to dry fully, depending on humidity and airflow. Leather and vinyl dry faster, often within 1 to 3 hours. Speed drying by blotting excess moisture with dry towels, opening windows or doors, running the air conditioning on recirculate, and parking in a well-ventilated shaded area. Avoid direct hot sun on damp leather. Never reassemble seat covers or sit on the seats until they are completely dry to prevent mildew and set-in odours.
Stained seats rarely fix themselves, and the wrong cleaner can make things worse. At Ipswich Car Care, we restore interiors with professional care and transparent starting prices, all bookable online through Square at a time that suits you. Get started with Ipswich Car Care and bring your cabin back to looking brand new.