 how-to
9 Deep Interior Car Cleaning Tips That Actually Work
Last Updated: November 1, 2026
Quick Summary
Deep interior car cleaning removes ground-in dirt, stains, odours and debris from every surface inside a vehicle, not just the visible parts, and takes most people two to four hours. Vacuum everything top to bottom before any liquid touches the car, then treat mats outside the car and blot fabric seats rather than soaking them.
- A full deep clean takes most people two to four hours, so rushing leaves residue, wet carpets and streaks.
- Vacuum roof lining, dashboard, seats, carpets and boot before any liquid touches the car.
- Clean floor mats outside the car and never refit a damp mat, which causes a persistent damp smell.
- Use a pH-neutral leather cleaner on coated leather and skip conditioner on aniline leather and Alcantara.
- Treat odour as a symptom: fix the moisture source and dry the cabin fully before deodorising.
Table of Contents
- Deep Interior Car Cleaning: What You'll Need Before You Start
- Step 1: Strip Out Rubbish, Mats and Loose Debris
- Step 2: Vacuum Top to Bottom Before Anything Gets Wet
- How to Clean Car Floor Mats Without Soaking Them
- How to Clean Fabric Car Seats and Upholstery
- How to Clean Leather Car Seats and Trim Safely
- Dashboards, Vents and Screens: Hard Surfaces and Electronics
- Odours, Mould and Pet Hair: Fixing What a Wipe-Down Can't
- Frequently Asked Questions
Deep Interior Car Cleaning: What You'll Need Before You Start
Deep interior car cleaning is the process of removing ground-in dirt, stains, odours and debris from every surface inside a vehicle, not just the parts you can see.
Before you start, know what you're getting into. A full deep clean takes most people two to four hours. Rushing it leaves residue, wet carpets and streaks.
If you want to weigh up DIY against paying someone, you can check current pricing and what a full interior job involves on the Ipswich Car Care website.
Car Interior Cleaning Tools Worth Owning
You don't need a van full of gear. A solid kit covers almost everything:
- A wet/dry vacuum with a crevice tool and a soft brush head
- Several microfiber cloths, colour-coded so you don't mix jobs
- A soft detailing brush and a stiff grout-style brush for mats
Buy two buckets if you're washing mats. One for soap, one for rinse.
A full deep clean takes most people two to four hours, and this kit covers almost everything you'll need. For more practical car care advice before you start, you can browse the Ipswich Car Care journal.
| Item | What it's for |
|---|---|
| Wet/dry vacuum with crevice tool and soft brush head | Lifting debris and dust from every surface |
| Several colour-coded microfiber cloths | Keeping jobs separate so grime isn't spread |
| Soft detailing brush and stiff grout-style brush | Vents, crevices and floor mats |
| Two spray bottles | One for cleaner, one for plain water |
| Mild interior cleaner and dedicated upholstery cleaner | Hard surfaces and fabric seats |
| Bicarbonate soda | Odours |
| Plastic scraper or old credit card | Tight crevices |
| Interior glass cleaner and separate glass cloth | Screens and glass |
Step 1: Strip Out Rubbish, Mats and Loose Debris
Start by emptying everything. Glovebox, door pockets, centre console, boot, under the seats. Remove floor mats and set them aside.
Then brush out loose dirt before it becomes mud.
Watch out: if you vacuum over wet debris, you'll push it deeper into the pile and clog your machine.
Work top to bottom. Dust from the dashboard and roof lining falls onto the seats, so save the low areas for last.
Step 2: Vacuum Top to Bottom Before Anything Gets Wet
Vacuum everything before a single drop of liquid touches the car. Water turns dust into paste, and paste works its way into fabric.
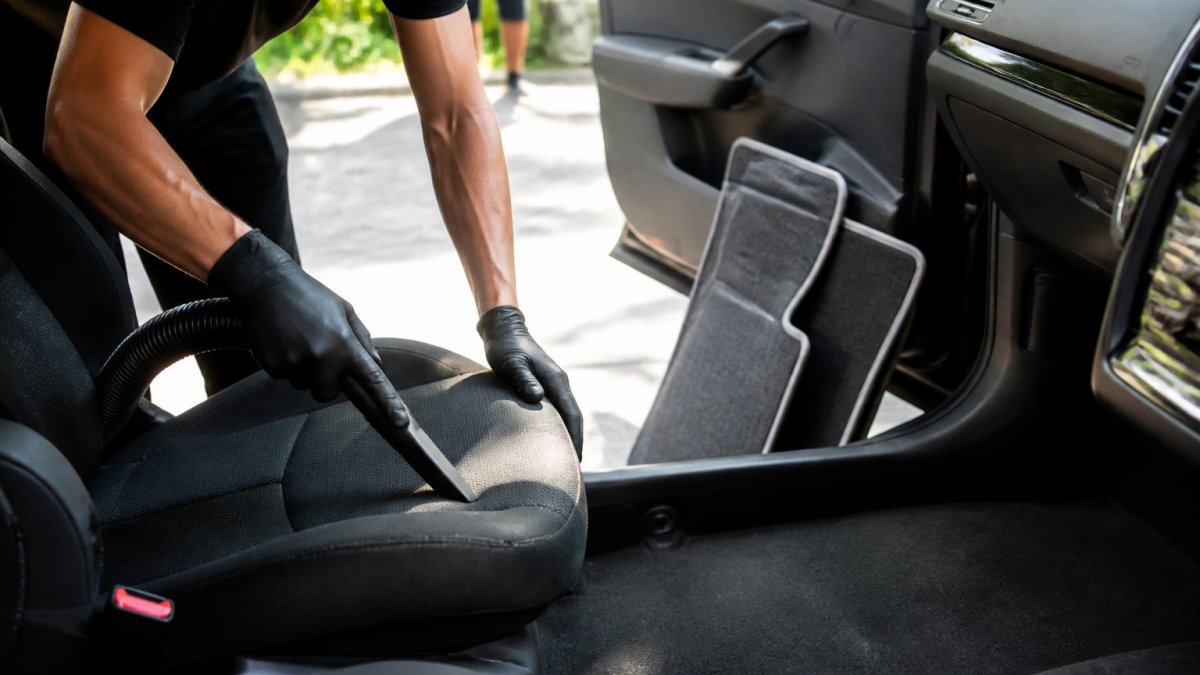
Work in this order:
- Roof lining and pillars, using a soft brush head
- Dashboard, vents and console with the crevice tool
- Seats, including the seams and under the rails
- Carpets and the footwells
- Boot and parcel shelf
Go over the same spot twice with different attachments. The second pass catches what the first loosened.
How to Clean Car Floor Mats Without Soaking Them
The best way to clean car floor mats is to treat them outside the car and keep water to a minimum. Soaking rubber or carpet mats traps moisture in the backing, which leads to mould and a musty smell.
Here's the method we'd use:
- Shake and brush each mat dry first
- Hose or wipe down, then scrub with a mild car wash liquid
- Rinse quickly and hang to dry fully before refitting
Never refit a damp mat. Trapped moisture under a floor mat is one of the most common causes of a persistent damp smell in a cabin.
How to Clean Fabric Car Seats and Upholstery
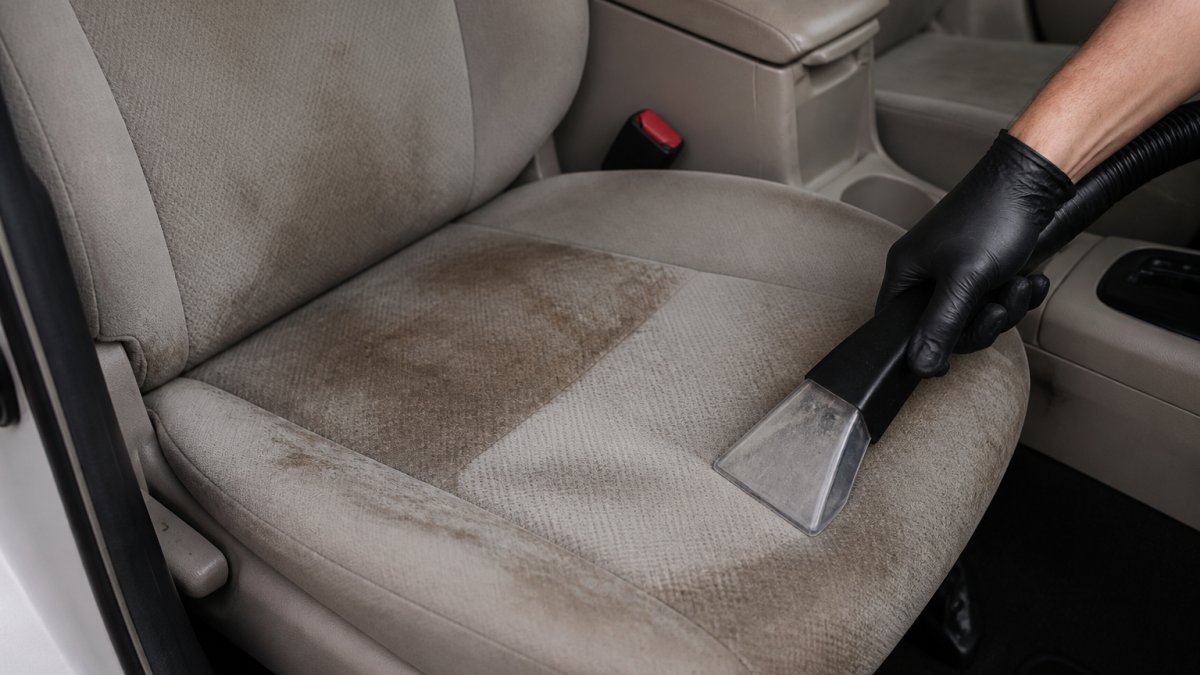
To clean fabric car seats, use a small amount of upholstery cleaner, agitate with a soft brush, then blot with a clean microfiber towel.
Work in small sections. Spray, wait a moment, brush gently, then press a dry towel into the fabric to lift the dirt out. Repeat on stubborn patches.
A few rules that save seats:
- Test any cleaner on a hidden spot first
- Don't over-wet the fabric; damp is enough
- Use a clean towel for each section so you're not spreading grime
If a stain won't budge with normal cleaning, a set-in mark needs a different approach. Our guide on how to restore stained car seats walks through the tougher cases.
How to Clean Leather Car Seats and Trim Safely
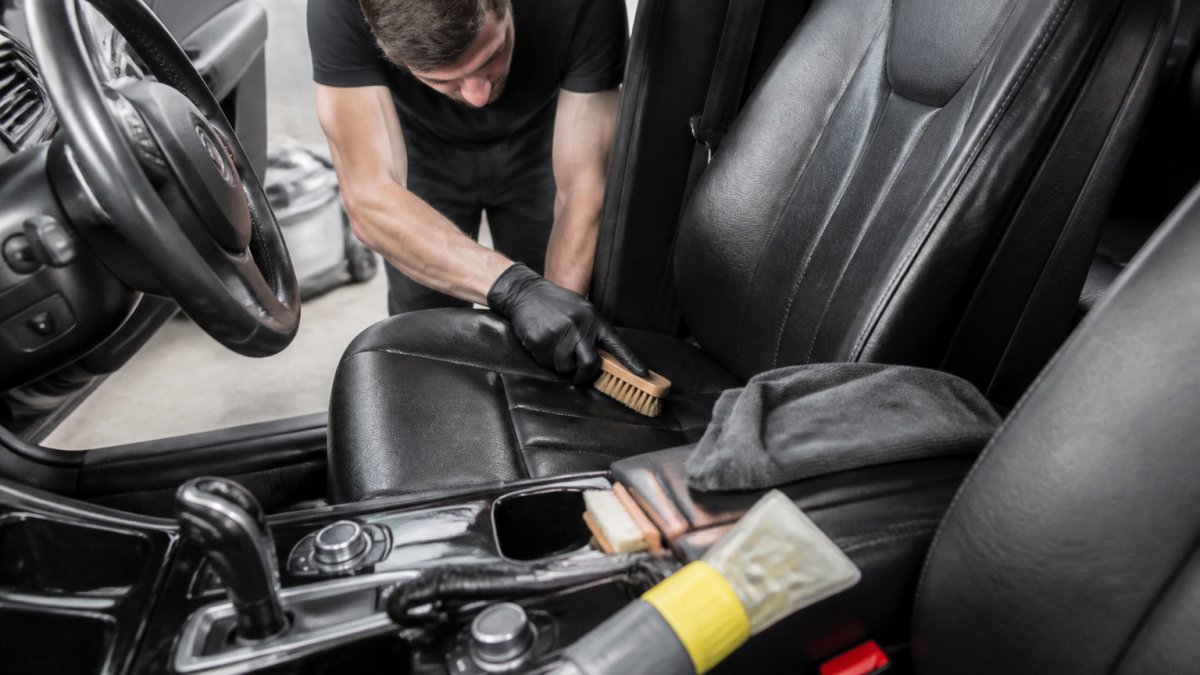
Cleaning leather car seats safely means using a pH-neutral leather cleaner, a soft cloth and a light touch. Harsh all-purpose cleaners strip the finish and leave leather dry and cracked. But "leather" in a modern cabin is not one material, and the biggest cause of damage is using the wrong product on the wrong finish.
Identify what you are actually cleaning first
Before you touch a product, work out which surface you have. A quick check with a torch and a fingernail tells you most of what you need:
- Coated (finished) leather, the most common car-seat leather. It has a clear top coat that feels smooth and slightly plastic. Water beads on it. This is the most forgiving surface and tolerates a damp microfiber wipe plus a pH-neutral cleaner.
- Uncoated or aniline leather, rarer, softer, and usually found in premium trims. Water darkens it almost immediately and it absorbs liquids. It needs a dedicated aniline-safe cleaner, minimal product, and immediate blotting. Never scrub it.
- Perforated leather, coated leather with holes. The holes trap cleaner and conditioner, which then wick back out and stain. Use less product, apply to the cloth rather than the seat, and dab rather than spray.
If you are unsure, test on a hidden section, under the seat, the back of the headrest, or a bolsters edge, and wait ten minutes before doing the visible area.
Products and techniques to avoid by material
- Coated leather: avoid abrasive pads, stiff brushes and high-alkaline all-purpose cleaners. They dull the top coat, and once the coat is worn the leather underneath stains easily.
- Uncoated/aniline leather: avoid foaming cleaners, conditioners with heavy oils, and any spray-and-leave product. Oil-based conditioners can darken aniline leather permanently.
- Perforated leather: avoid spraying directly and avoid thick conditioners that clog the holes.
A safe sequence that works across leather types
- Vacuum the seams and perforations with a soft brush head first, grit trapped in stitching acts like sandpaper when you wipe.
- Wipe with a microfiber cloth wrung out almost dry to lift dust and surface grime.
- Apply a small amount of the correct cleaner to the cloth, not the seat, and work one panel at a time.
- Buff dry with a clean, dry microfiber cloth. Do not leave the surface wet.
- Condition only coated leather, and only with a product labelled for it. Skip conditioner on aniline and Alcantara.
Finish by opening the doors and letting airflow move through the cabin before anyone sits on the seats. A dry surface is a safe surface.
Dashboards, Vents and Screens: Hard Surfaces and Electronics
Hard surfaces need a different approach to fabric. Dust first, clean second, and keep liquids away from anything with a screen or a button.
For the dashboard and centre console, spray cleaner onto your cloth, never directly onto the surface. That stops liquid running into seams and switches.
Use these tools:
- A soft detailing brush for vents and cup holders
- A microfiber cloth wrung out almost dry for hard surfaces
- A dedicated screen cloth for the infotainment display
For screens, use a dry microfiber cloth or a screen-safe cleaner only. Moisture and electronics don't mix, and pressing hard can damage the display.
Odours, Mould and Pet Hair: Fixing What a Wipe-Down Can't
Some problems sit below the surface. Mould, mildew and pet hair need more than a wipe-down, and masking an odour with air freshener only hides it for a day. The key is to separate three different problems, routine odour, moisture-driven mould, and embedded hair and allergens, because each needs a different fix.
Routine odour versus a moisture problem
A musty, damp smell is a moisture signal, not a fragrance problem. Before you treat the smell, find the water:
- Damp floor mats or a wet boot carpet
- Spilled drinks that ran under the seats and into the carpet backing
- Blocked drain channels or a leaking seal letting water into the footwell
If the carpet or underlay feels damp, dry it fully before deodorising. Trapped moisture under a floor mat is one of the most common causes of a persistent damp smell in a cabin.
Mould and mildew: when to stop and get help
Surface mildew on hard trim or seat belts can often be wiped with a damp cloth and a mild interior cleaner, then dried thoroughly with airflow. But mould that has gone into foam, carpet underlay or the ventilation system is a different problem. Signs it is past a home clean:
- A musty smell that returns within days of cleaning
- Visible dark spotting on carpet or under seats
- Dampness that reappears after drying
In those cases, a professional deep clean with proper extraction and drying is the practical call. You can check availability and pricing and book a professional deep clean online. You can book online through the Ipswich Car Care website, where starting prices are listed.
Pet hair and allergens: tool choice and repeat passes
Pet hair embeds in fabric and wraps around carpet fibres, so a single vacuum pass will not lift it. A common pattern that works:
- Vacuum first with a rubber brush or a damp rubber glove drawn across the fabric to gather the hair into clumps.
- Vacuum again with a crevice tool along seams and under rails.
- Repeat the rubber-tool pass and vacuum once more, two or three cycles lift far more than one.
For pollen, dust and dander, a vacuum with a soft brush head and a clean microfiber wipe-down of hard surfaces reduces what settles back into the cabin. Change or wash the vacuum filter afterwards so you are not blowing fine dust back into the car.
Residue and drying control
Whatever you use, keep moisture to a minimum and dry the cabin thoroughly. Over-wetting foam and carpet is the most common cause of a smell that comes back. Leave doors open with airflow moving through, and do not refit mats until they are fully dry. For habits that keep a cabin fresh between cleans, our guide on keeping your cabin fresh through summer covers odour and grime habits in more depth.
Frequently Asked Questions
How long does a deep interior car cleaning take?
A thorough deep clean of a five-seat car usually takes two to four hours if you work through it in order: strip out rubbish, vacuum, treat mats and seats, then wipe down hard surfaces. Cars with heavy pet hair, stained fabric or mould take longer because those jobs need dwell time and repeat passes. If you are short on time, a professional valet compresses the same process into a booked slot, and you can schedule it online at a time that suits you.
What should I avoid when detailing a car interior?
Skip household bleach, ammonia-based glass cleaners on tinted windows, and any product that promises to foam away stains without rinsing. Over-wetting fabric seats is the most common mistake: trapped moisture causes mildew and lingering smells. Don't scrub leather hard with a stiff brush, and never spray cleaner directly onto screens or buttons. Use a microfiber cloth lightly dampened with product instead, and keep water away from vents and electronics.
How do I remove dust and dirt from car vents and crevices?
Use a soft detailing brush or a clean paintbrush to loosen dust from vent slats, then vacuum with a crevice tool held close to the surface. A grout brush works well on textured plastics and around cup holders. For narrow gaps, wrap a microfiber cloth around a flat plastic card and run it along the seam. Work top to bottom so loosened dust falls onto surfaces you have not cleaned yet, not the ones you just finished.
Can a deep interior clean remove stains and odours permanently?
Most stains lift with the right method: blot fabric rather than rub, use a dedicated upholstery cleaner at the dilution on the label, and give it dwell time before extracting. Odours are different. They usually come from a source such as spilled milk in carpet, damp mats or mould in the air vents, so masking them with air freshener will not last. Find and treat the source, dry the interior fully, then air the car out with doors open.