 how-to
Car Detailing Paint Restoration Process: DIY Guide
Table of Contents
- Car Detailing Paint Restoration Process: Step-by-Step
- What You'll Need Before You Start
- Step 1: Wash and Decontaminate the Vehicle
- Step 2: Assess Paint Condition and Test a Spot
- The Car Paint Correction Process Explained
- How to Restore Faded Car Paint Without Repainting
- Paint Correction vs Repainting: Which Does Your Car Need?
- Paint Protection After Correction: Making the Gloss Last
- When to Stop and Call a Professional
- Frequently Asked Questions
Last Updated: October 16, 2026
Car Detailing Paint Restoration Process: Step-by-Step
Paint correction is the slow removal of a thin layer of clear coat to level out scratches, swirl marks and etchings so light reflects evenly again. It is the core of any car detailing paint restoration process, and it is very different from a wash and wax.
Here is the honest version up front. Most faded, swirled or scratched paint does not need a respray. It needs careful prep, the right compound and patience. But the work is slow, the risks are real, and some damage sits too deep to fix safely at home.
Below, we break the job into clear steps, show you how to test a small area before committing, and explain when to stop and hand the car over.
What You'll Need Before You Start
Gather everything first, because once you start polishing you should not stop halfway across a panel. A basic kit covers most DIY jobs:
- Two buckets with grit guards, plus a quality car shampoo
- A clay bar or clay mitt and a lubricant spray
- A dual-action (DA) polisher, not a rotary
- Cutting compound, a mid-grade polish and a finishing polish
- Several foam and microfibre pads, plus clean microfibre towels
- Painter's tape for trim, badges and panel gaps
- A bright work light or inspection lamp
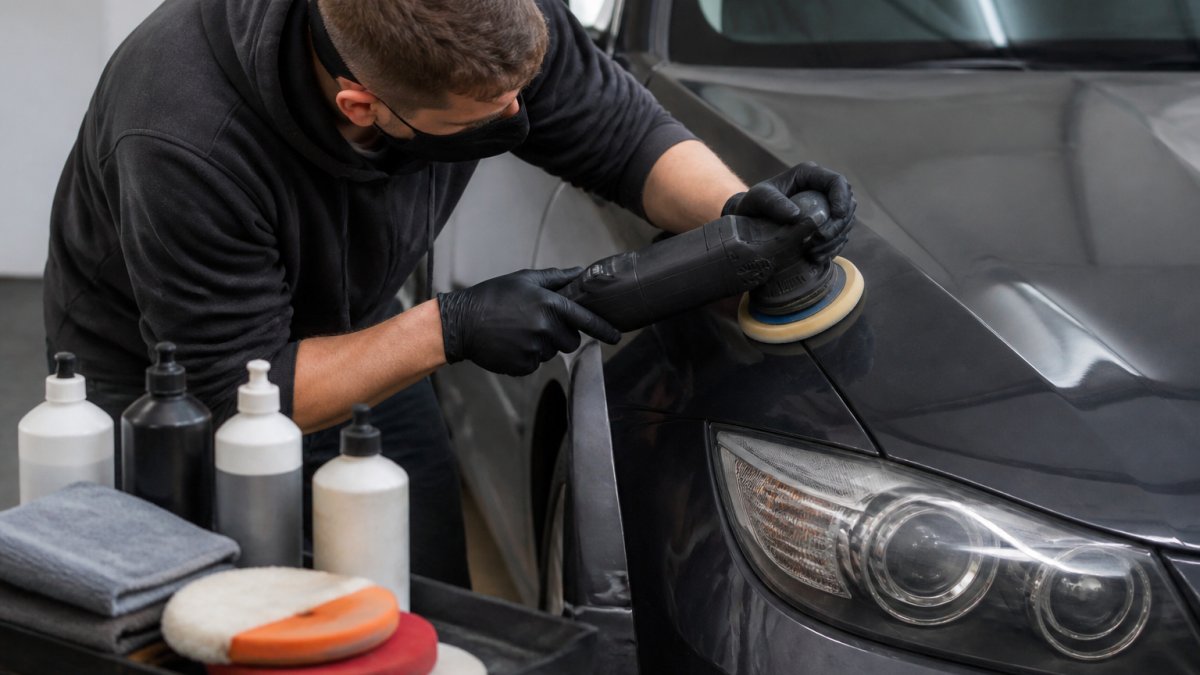
A DA polisher is the safer choice for beginners. It oscillates rather than spinning in one spot, so it is far less likely to burn through the clear coat than a rotary.
Step 1: Wash and Decontaminate the Vehicle
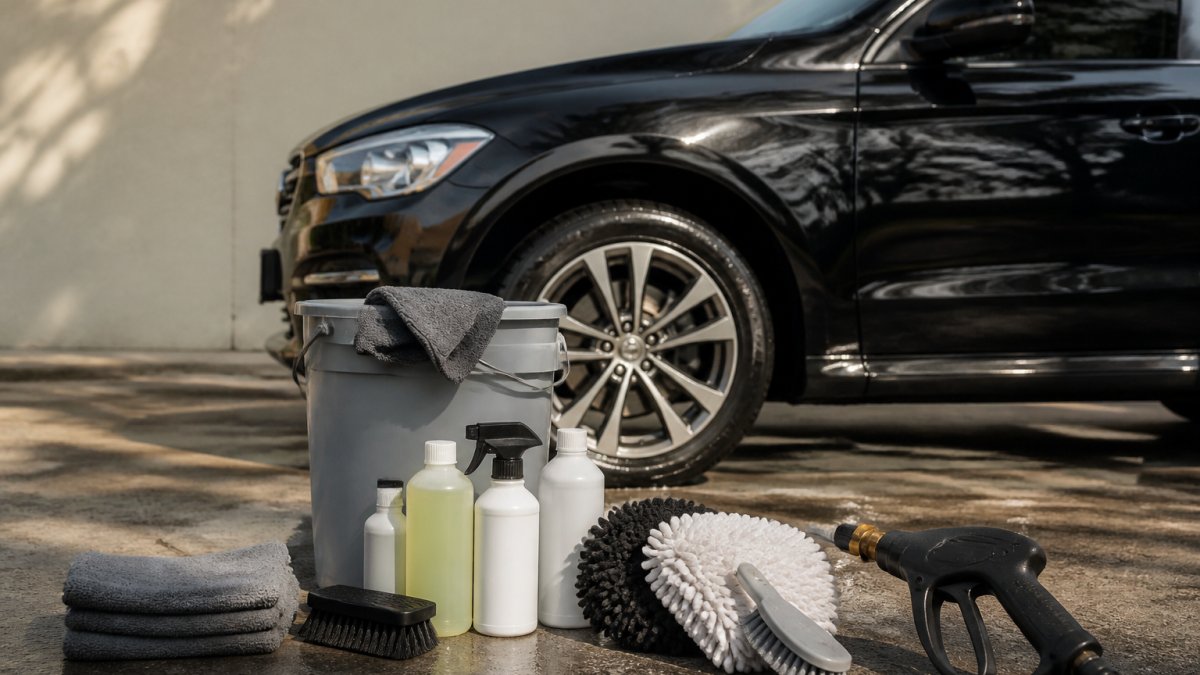
Start with a proper two-bucket wash, working top to bottom and rinsing the mitt often. This removes loose dirt before anything touches the paint. Dry with a clean microfibre towel using light pressure, or use a blower to avoid adding new swirl marks.
The paint must be genuinely clean before you polish. Any grit left behind becomes an abrasive under the pad.
Removing Bonded Surface Contaminants
Bonded contaminants are the particles a normal wash cannot shift: tar, tree sap, industrial fallout and iron deposits. Run your fingertips over the paint after washing. If it feels rough like sandpaper, there is bonded contamination.
- Spray an iron remover and watch for the purple reaction that shows metal particles
- Use a tar remover on lower panels and behind the wheels
- Clay the paint with plenty of lubricant, gliding rather than pressing
- Wipe down with a panel wipe to strip old wax and oils
Once the surface feels smooth and slick, the paint is ready for assessment.
Step 2: Assess Paint Condition and Test a Spot
Before you polish a single panel, work out what you are dealing with. Inspect the paint under a bright light and look for:
- Swirl marks: fine circular scratches, usually from poor washing
- Oxidation and fading: a chalky, dull look on older paint
- Water spots and etchings: marks that have eaten into the clear coat
- Scratches: check whether your fingernail catches on them
If your fingernail catches a scratch, it is likely too deep for polishing to fully remove. You can soften how it looks, but the clear coat has already been cut through.
Next, pick a small test spot, such as a 30cm section on the boot lid or a lower door. Use your least aggressive combination first and check the result. This tells you how much cut the paint needs without risking a whole panel.
The Car Paint Correction Process Explained
The car paint correction process is a staged polishing routine: cut back the defects, refine the surface, then finish it to a high gloss. Each stage uses a finer abrasive than the last.
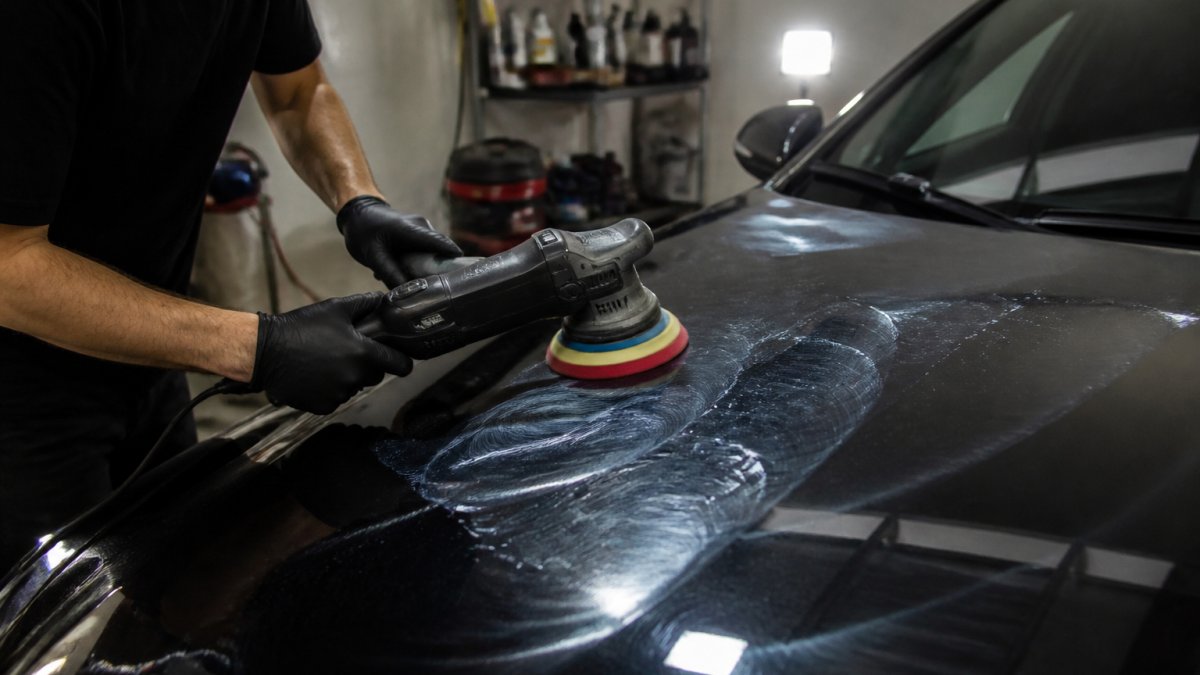
A single-stage correction uses one polish to improve gloss and remove light swirls. A multistage correction uses a heavier compound first, then a finishing polish to remove the marks the compound leaves behind.
Work in small sections, keep the polisher moving, and wipe off residue before it dries.
Choosing Compounds, Polishes and Tools
Match the abrasive to the job. A heavy cutting compound removes deeper defects but leaves its own marks. A finishing polish removes those marks and brings up the gloss.
| Stage | Product Type | Pad | Purpose |
|---|---|---|---|
| Cut | Heavy cutting compound | Firm foam or microfibre | Remove deeper scratches and swirls |
| Refine | Mid-grade polish | Medium foam | Reduce marks left by the cut |
| Finish | Finishing polish | Soft foam | Maximise gloss and clarity |
Keep the pad clean and swap to a fresh one as it clogs. A loaded pad stops cutting and just heats the paint.
How to Restore Faded Car Paint Without Repainting
Faded, oxidised paint often comes back to life with correction rather than a respray. Oxidation sits in the top layer of the clear coat, so removing that thin layer exposes fresh, glossy paint underneath.
Here is how to restore faded car paint in practice:
- Wash and decontaminate fully
- Test a spot to confirm the fade is in the clear coat, not the colour coat
- Use a cutting compound on a firm pad to remove the oxidised layer
- Follow with a finishing polish to restore clarity
- Apply protection straight away
If the fade has gone through the clear coat into the colour, polishing will not bring the colour back. That is when repainting becomes the honest answer.
Paint Correction vs Repainting: Which Does Your Car Need?
Correction fixes defects in the existing clear coat. Repainting replaces the finish entirely. The right choice comes down to how deep the damage goes.
Choose correction when the defects sit in the clear coat and there is enough paint depth left to work with.
Correction is usually the cheaper and faster option, and it keeps your car's original factory finish. Repainting costs more and can take days, but it is the only fix for damage that goes too deep.
Paint Protection After Correction: Making the Gloss Last
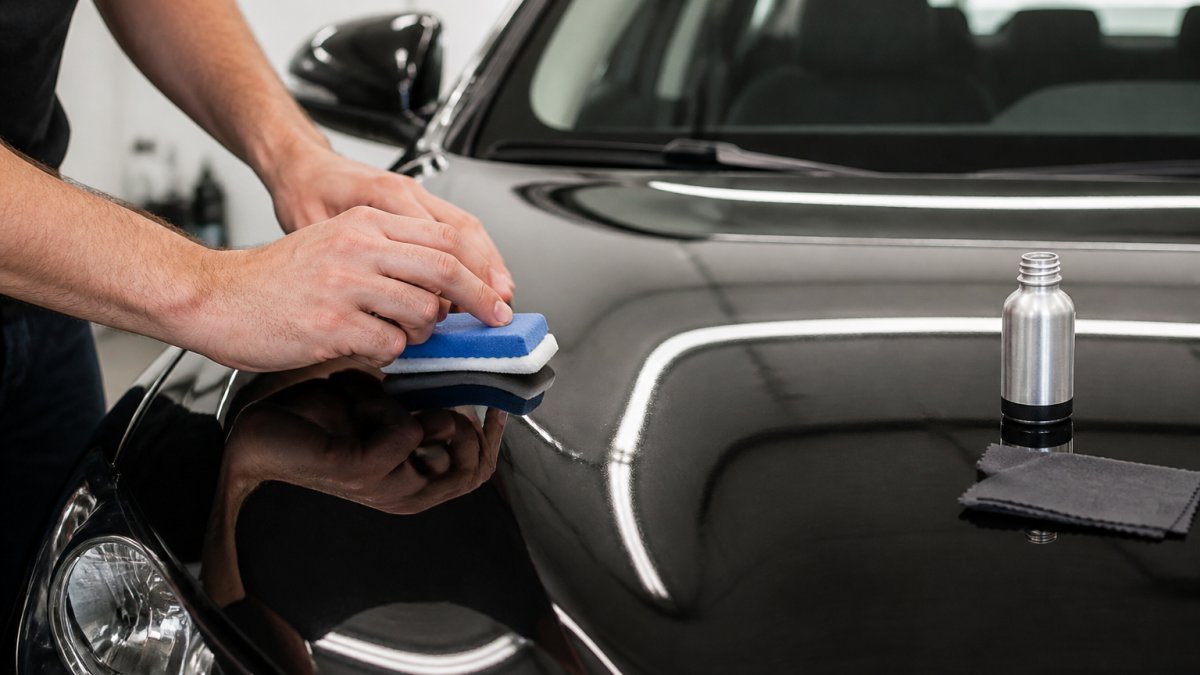
Correction strips whatever protection was on the paint. The finish you see immediately after polishing is bare clear coat, and it will degrade faster than it did before unless you seal it. Protection is not an optional final step; it is part of the correction job.
Your Protection Options
Durability figures below are typical real-world ranges for a daily-driven vehicle parked outside. A garaged car will usually see the upper end; a car washed with poor technique will see the lower end.
| Option | Typical durability | Application | Best for |
|---|---|---|---|
| Carnauba wax | 4 to 8 weeks | Hand, 30 to 60 minutes | Enthusiasts who enjoy regular topping up |
| Synthetic paint sealant | 4 to 6 months | Hand or machine, 1 to 2 hours | A practical balance of cost and durability |
| Ceramic coating (consumer grade) | 1 to 3 years | Hand, with careful prep | Long-term gloss and easier washing |
| Ceramic coating (professional grade) | 3 to 5+ years | Trained installer | Maximum durability and chemical resistance |
A few practical points:
- Wax gives the warmest look and is the most forgiving to apply, but it offers the least chemical and UV resistance.
- Sealants are polymer-based, easy to apply, and a sensible default for most DIY owners.
- Ceramic coatings bond to the clear coat and form a harder, more chemical-resistant layer. They need a fully decontaminated and, ideally, freshly polished surface to bond properly. Applying one over old wax or contamination is a common and expensive mistake.
- Coating prep matters more than the coating brand. A panel wipe after polishing is essential to remove polishing oils that would otherwise stop the coating bonding.
Application Basics
Whichever product you choose, the rules are similar:
- Work out of direct sunlight on a cool panel.
- Apply in small sections with a clean applicator pad.
- Allow the product to flash or cure as directed, then buff off residue with a clean, plush microfibre towel.
- Avoid washing the car for the cure period specified by the manufacturer, which is often 24 to 48 hours for sealants and up to 7 days for some coatings.
Washing Technique That Preserves the Finish
The best protection in the world will not survive bad washing. Most swirl marks are inflicted during washing, not driving.
- Two-bucket method: one bucket for shampoo, one for rinsing the mitt. Grit guards in both.
- Wash top to bottom. Roof, glass and upper panels first, then lower panels and sills last, where contamination is heaviest.
- Use a quality car shampoo, not dishwashing liquid. Dishwashing liquid strips wax and sealant and offers no lubrication.
- Rinse the mitt often and never return it to the shampoo bucket without rinsing first.
- Dry with a clean microfibre towel using light pressure, or use a filtered blower to avoid touching the paint at all.
- Avoid automatic brush washes and roadside hand-wash operations that use dirty sponges. These are the fastest way to undo a correction.
Maintenance Schedule
A simple routine keeps corrected paint looking corrected:
- Weekly: a maintenance wash using the two-bucket method.
- Monthly: apply a spray sealant or quick detailer as a sacrificial top-up layer.
- Every 3 to 6 months: inspect the surface for loss of beading and reapply wax or sealant as needed.
- Annually: a full decontamination wash with iron remover and clay, followed by a top-up of protection. Coatings may need a professional inspection at this point.
- As needed: remove bird droppings, tree sap and insect remains promptly. These are acidic and etch into clear coat within days, especially in warm weather.
When to Stop and Call a Professional
Stop the moment you are unsure. If the test spot does not respond, if you cannot judge paint depth, or if the defects run deeper than the clear coat, hand it over.
The risks of pushing on are real. Too much polishing on one spot burns through the clear coat, and that damage cannot be reversed without repainting. Older vehicles and thin factory finishes leave very little margin for error.
A professional detailer can measure paint depth, choose the right cut for each panel, and do the job without risking the finish.
Frequently Asked Questions
Can paint correction remove scratches and swirl marks?
Yes, most light scratches and swirl marks sit in the clear coat and can be removed by machine polishing. Deeper scratches that catch a fingernail have reached the primer or base coat, so correction will reduce their appearance but not erase them. A paint depth gauge helps you work safely, and a test spot shows what is achievable before you polish the whole car.
How long does car paint correction take?
A single-stage polish on a small car can take three to five hours. A two-stage correction on a larger vehicle often runs one to two full days. Time depends on paint hardness, defect severity and how many panels need work. If you are booking the car detailing paint restoration process with a professional, allow at least a full day and ask about drop-off times when you book online.
How do you know whether car paint needs correction or repainting?
Check the clear coat first. If it is intact and defects are surface level, correction is the right call. If the paint is peeling, chalky throughout the colour layer, or has exposed primer or bare metal, repainting is the only fix. A paint depth gauge reading under roughly 80 microns across a panel usually means there is not enough clear coat left to polish safely.
How should you protect paint after restoration?
Apply a wax or sealant straight away for short-term protection, or book a ceramic coating for two to five years of gloss and chemical resistance. Wash with a pH-neutral shampoo and two buckets, and avoid automatic brush washes. Reapply spray sealant every few months, and top up the coating with a dedicated maintenance product. If you would rather not handle it yourself, book online.
Restoring a car's paint takes hours of careful work, the right tools and a steady hand. If you would rather skip the risk, Ipswich Car Care handles the full process for you, from wash and decontamination to machine polishing and long-lasting ceramic paint protection. Our online booking through Square takes a couple of minutes, with no phone calls and clear starting prices. Book online with Ipswich Car Care and get your gloss back.